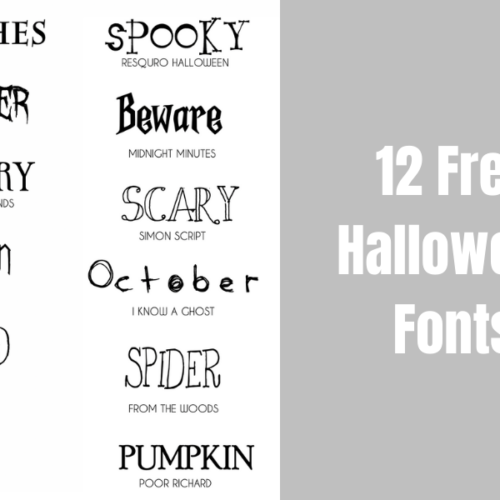
Installing fonts onto your computer is super easy to do, but if you’ve never done it before than check out these few easy steps and you’ll be able to start using free downloadable fonts in no time!

Graphic by Lauren Mancke from unsplash.com
I usually use dafont.com to find free fonts. Once you’ve found what you want to use, then the first thing you’ll want to do is download them. A lot of websites like these have advertisements, so you want to make sure you’re clicking the right link. You’ll want to make sure you’re clicking the “download” button.

Once it’s downloaded, the file will appear in your downloads folder. Sometimes the downloaded file will be the font file (.tff or .otf), but many come in .zip files, so you will need to unzip it. Some of the fonts you download may have multiple files such as terms of use or other information. Just make sure to open the .tff or .otf file to open the font file. Mine unzips on my MacBook automatically once I’ve downloaded it.

Once you’ve clicked the .tff or .otf file, a new widow will pop open. Click “install font”.

Your new font is now installed in your Font Book! You can now use this font in Microsoft Word or Pages (if you have a Macbook).

These instructions I just provided are for a MacBook, however the instructions would be similar for a PC. I did a bit of research and found out how you would also download fonts based on a PC.
Windows 10 – Once downloaded, if the file is zipped, right-click on the file, select Extract All, and then follow the instructions to put the font into a folder of your choosing. After, right-click on the file and select Install.
Tip: If you’re planning to use these fonts in Microsoft Word, make sure to close out of the application to refresh it so the new downloaded fonts will appear in the drop-down. Otherwise, they won’t appear if you have a Word Doc already open prior to installing any new font.
Hope you find this post helpful! Enjoy creating!
xoxo,
Amy


Leave a Reply